Slideshow - Saw Blade Installation
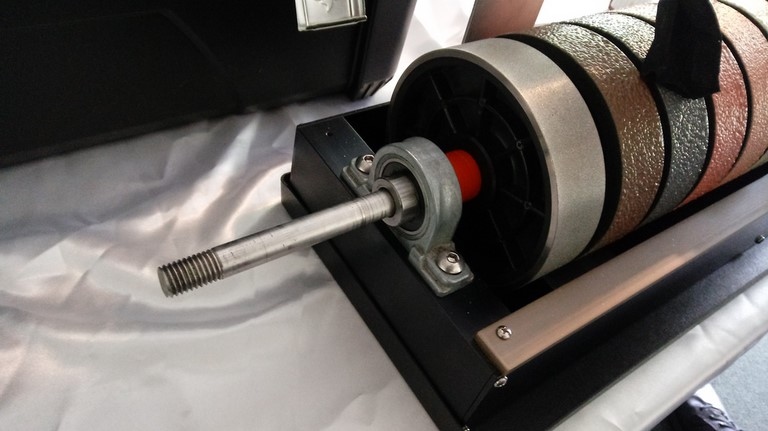
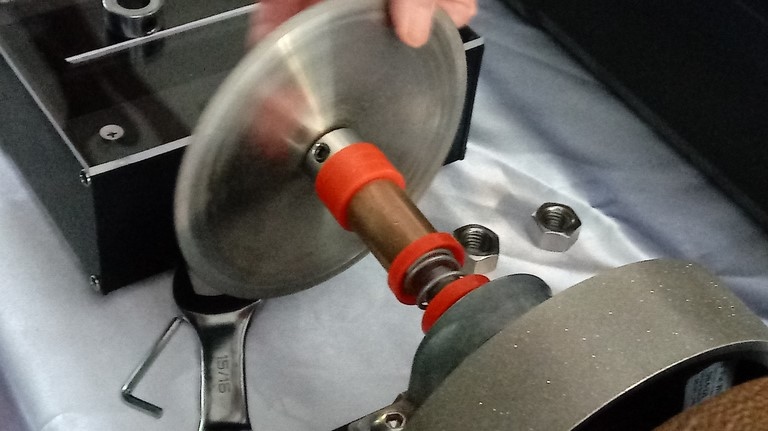
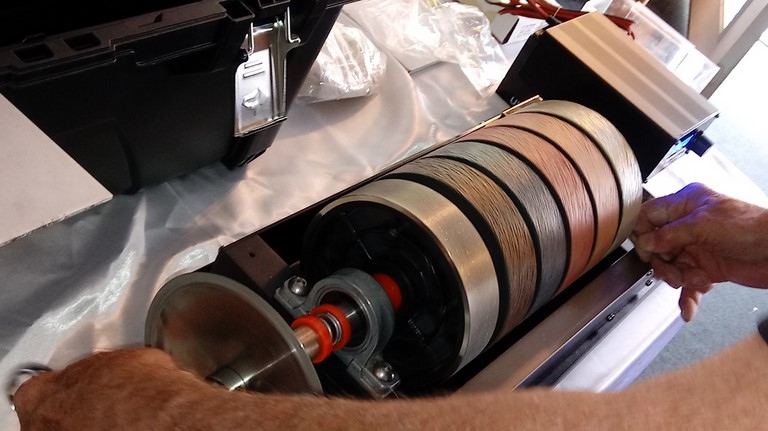
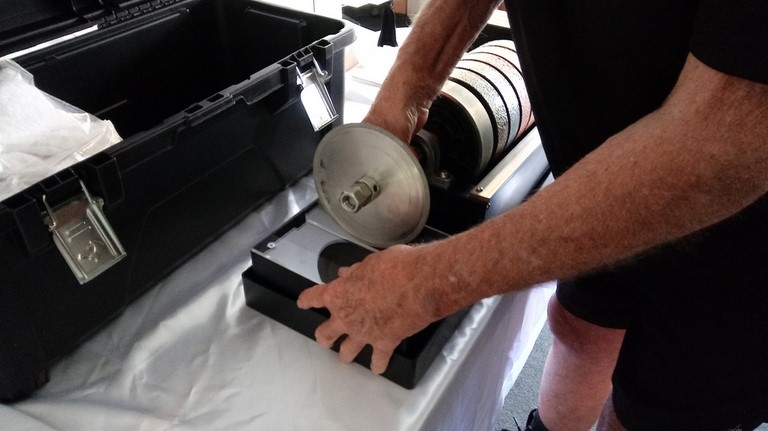
Saw Installation - Step 1
HOW to INSTALL SAW:
The saw installs on the left side of the machine, the threaded shaft side.
The saw installs on the left side of the machine, the threaded shaft side.
Follow Steps as shown in each of the next videos to install.
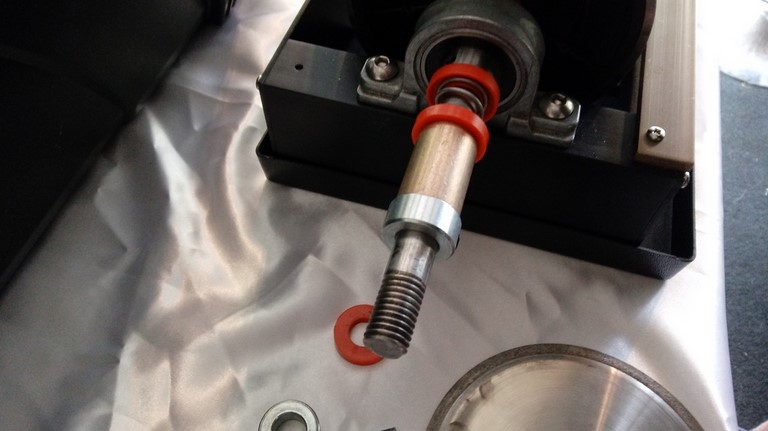
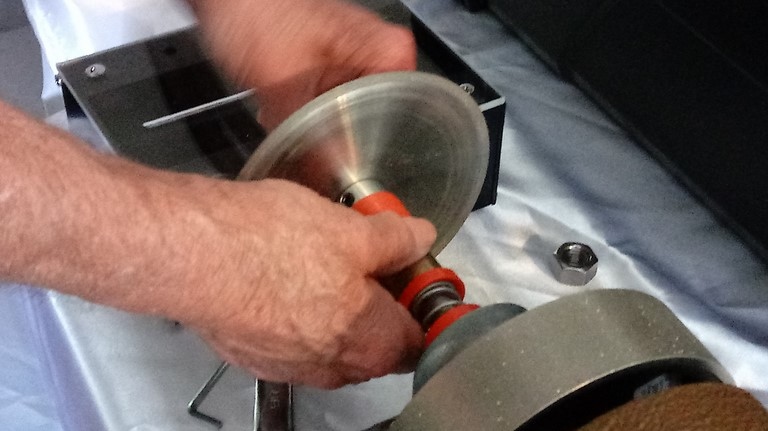
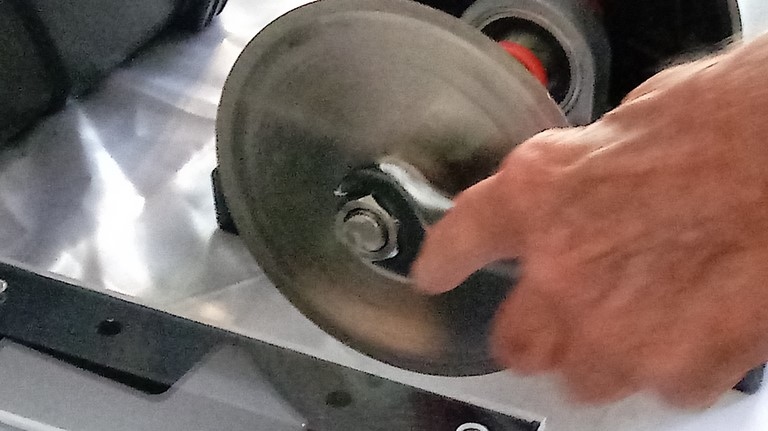
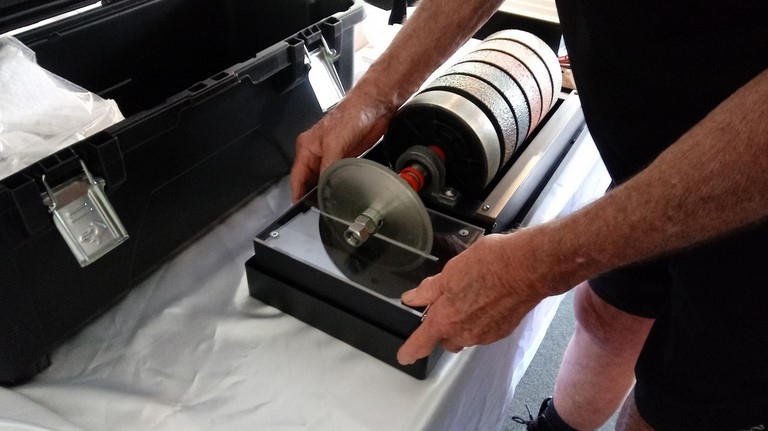
Saw Installation - Step 2
Then follow Steps as shown in next video
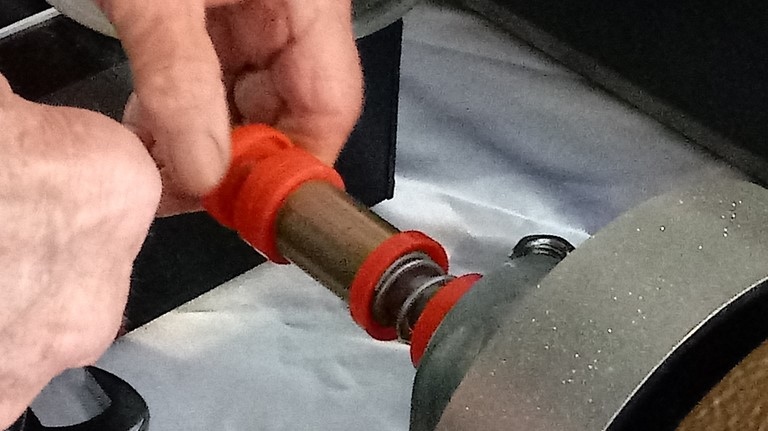
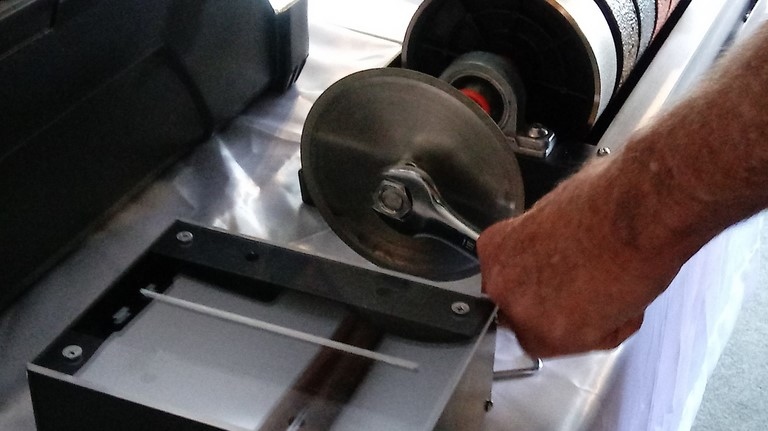
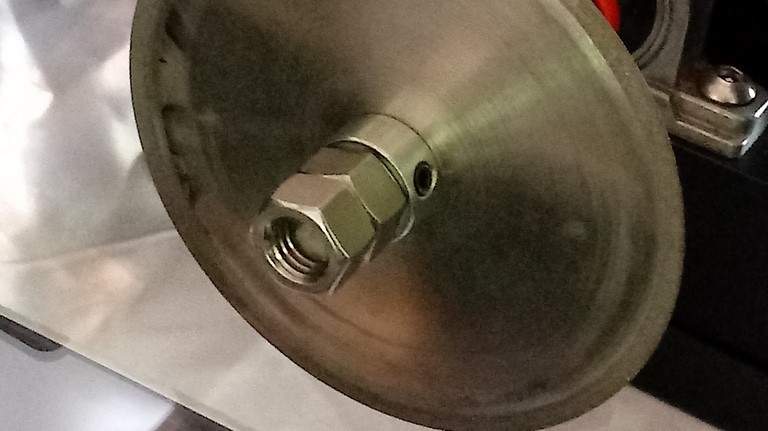
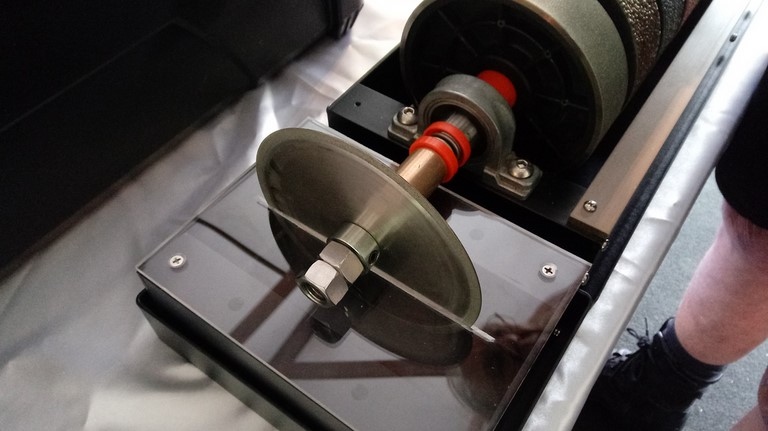
Saw Installation - Step 3
Then follow Steps as shown in next video
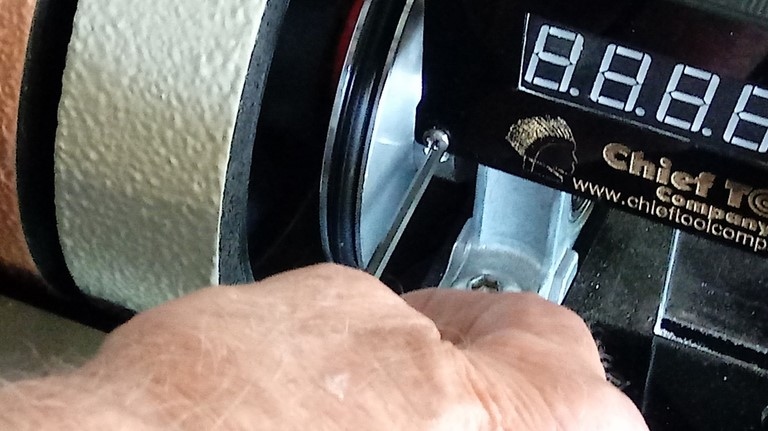
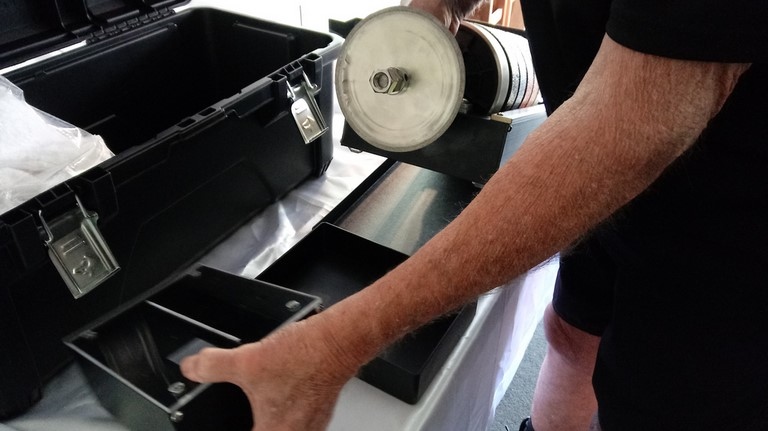
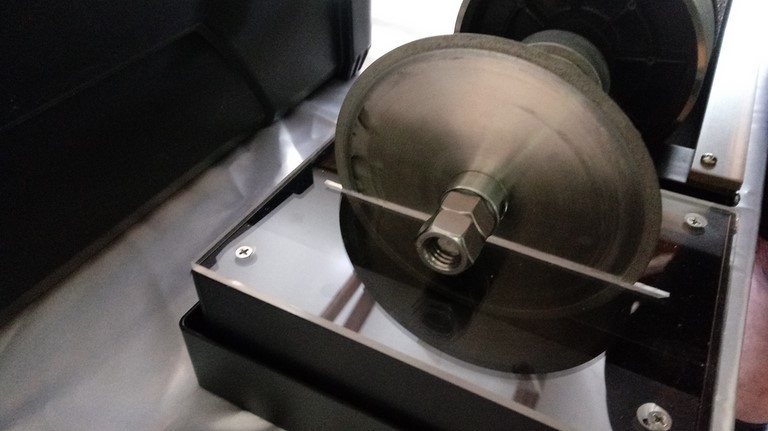
Saw Installation - Step 4
Then follow Steps as shown in next video
Saw Installation - Step 5
Then follow Steps as shown in next video
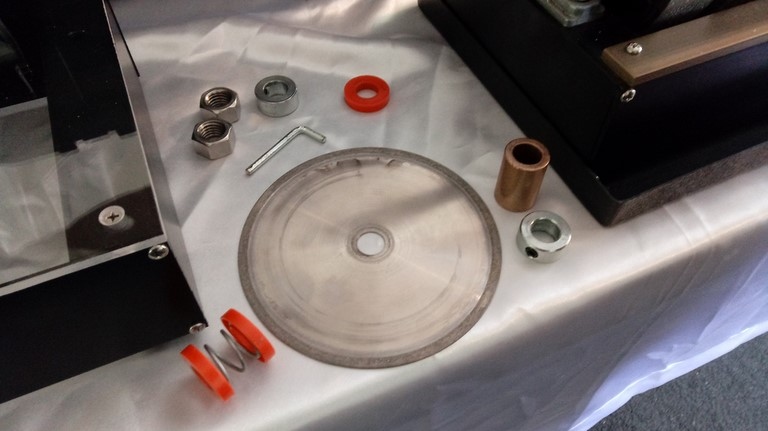
Add'l photos - Slideshow


NOTES:
Stand for drip tank goes inside drip tray, so it serves as a splash gard and water is retained in drip tray.
You can run a 6" or 4" saw on the machine. A 4" saw blade is thinner and a good idea to use for your more expensive material to minimize saw blade loss.
Align the saw body with the saw so blade does not scrape on sides of acrylic cover. When you turn on the saw and it make a scraping noise, turn off machine and adjust.